Guiltless Decedent Chocolate Cloud Cake!

I was inspired regarding this luscious dessert while checking out Nigella Lawson's recipes. She uses Contreau and orange zest in hers. I used Creme de Cacao. You could use whatever flavoring you want as all of them would be amazing.
I love to watch her cook and read her recipes, she's very down to earth with a great sense of humor, and her recipes are generally pretty simple.
You know you're in a hurry when you really don't stop to analyze every minute detail. Such as baking these gorgeous chocolate treats on pretty much you're worst looking baking pan. You know, the one you were going to clean this last weekend? <sigh>
Baking on an old marred baking pan in no way taints the ultimately indulgent-consuming of this to-die-for ethereal pleasure, however.
In fact, I guess I really don't care. There's always tomorrow to do cleaning of all types, right? In fact that's just about all we did all weekend. All day Saturday, after Church and lunch on Sunday just about until guests arrived about 6:45 pm for dinner. I had prepped this dessert to the point of whipping the egg whites and folding it all together, then sliding it into the oven. Enticingly waiting for it to be perfect and ready to shove into our mouths! With fresh whipped cream of course!
The dinner itself was really good too I might add. There was crock-pot barbecued beef, oven roasted carrots with dill, fresh mashed potatoes, (slightly lumpy's the best), and fresh homemade chunky applesauce sprinkled with cinnamon. Then to feed our eager indulgent selves, it was Chocolate Heaven. And, if I didn't want to announce it, it was great knowing that the entire meal was totally gluten free. Nobody even asked. Works for me! And my husband-Greg. The rest of them just indulged and gorged themselves (albeit politely).
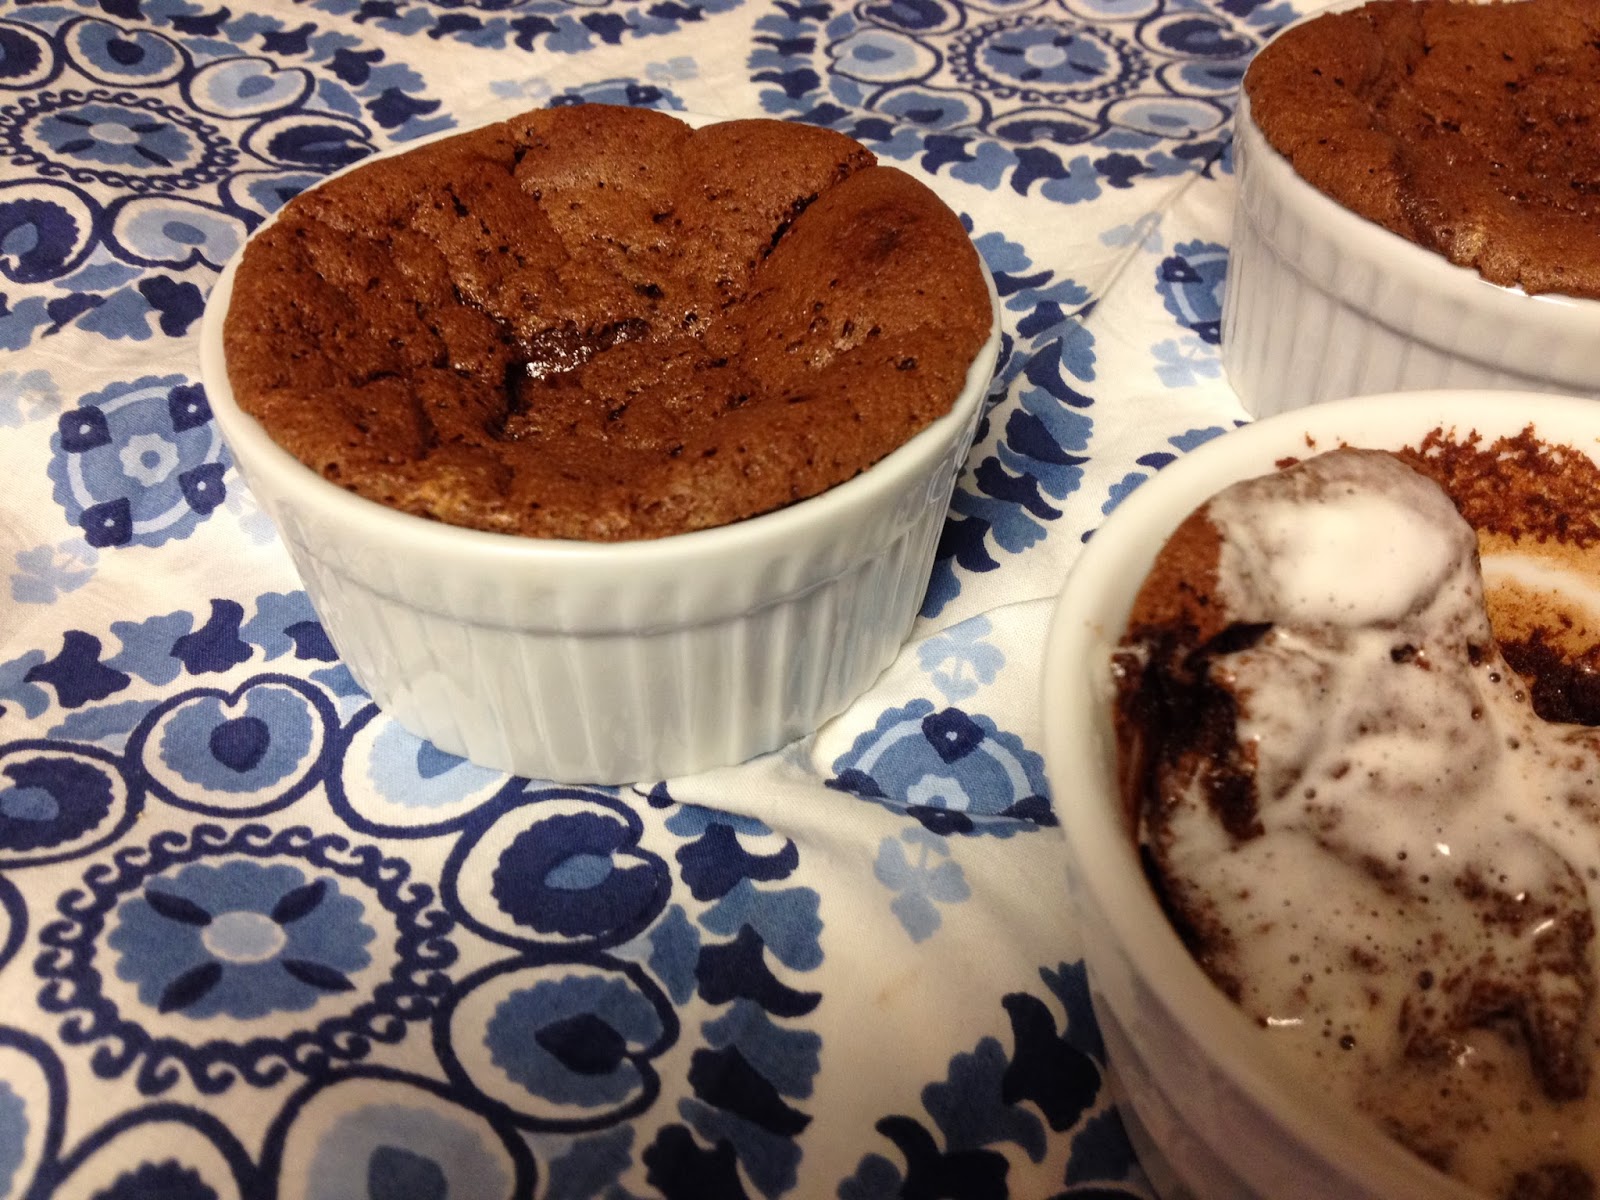
My bigger goof of the extended Cloud Cake weekend, was that I forgot to take photos of the process. Finished product photos abound, but no process. So my goal for today-Monday, was to re-create the dessert taking photos as I went and converting the finished dessert into individual ramekin servings, just to be different, and definitely portion control! So I made the recipe again, filled the ramekins, popped them into the oven, set the timer, and ran into the living room to watch "Sleepy Hollow" with Greg all the while listening for the timer.
Ding! What luck! The end of the baking time coincided with a commercial (or 10!). I grabbed my iPhone and brought up the camera, opened the oven and snapped a great picture. Took them out of the oven and snapped another picture. Whipped the cream, plopped some on both Greg's and mine, (I really have to admit that the thought of dumping my souffle into the bowl of gorgeous whipped cream and consuming it was almost to alluring to handle), managed to take photos, ran back to the couch with goodies wrapped in pot holders, just in time to resume watching the program, while devouring our little chocolate feasts. So, the shows over and we talked about it a couple of minutes as I gathered the little ramekins, and froze in my tracks. Yes, you guessed it! I had forgotten to take process photos again!!!
Suffice it to say, it really is a very easy cake to make. A six year old could make it. My bi-polar cat could make it. Not to mention that it made 10 ramekins of which are going to be shared with some neighbors tomorrow. I love this cake, but I just have to move forward! Tomorrow is another bread baking day and I'm going to bake several different kinds. Stay tuned, it's never dull here.
So onto Gluten Free Decedent Cloud Cake!
Ingredients
Cake:
9 ounces bittersweet chocolate, finely chopped
1/2 cup butter, room temperature
6 eggs, 2 whole and 4 separated
1/2 cup plus 1 Tablespoon sugar
2 Tablespoons liqueur - your favorite flavor, although I bet you could also use extracts here
1 orange or lemon, zested - optional depending on which flavor you've chosen above
Whipped Cream Topping:
2 cups heavy cream
 1 Tablespoon of your favorite chosen flavor above
2 Tablespoons sugar
1/2 teaspoon unsweetened cocoa, for sprinkling
Special Equipment:
non-stick spray
9 inch round of parchment paper
9 inch springform pan
OR
8-10 individual ramekins-no parchment needed
Directions:
Pre-heat the oven to 350˚F.
Using the non-stick spray lightly spray the bottom only of the 9 inch springform pan. Fold your parchment in half several times until you have a small fan shape. Lay the fan point at the center and mark the overhang. Cut off the overhang then open and lay the parchment circle on top of the cake base pan.
 |
| Place point at the center, mark about a 1/4 inch and cut |
 |
 |
| Parchment circle will be slightly smaller than the pan which is okay. You don't want it to hang under the spring-sides, which could cause your batter to leak out of the bottom. |
1. Melt the chopped chocolate in a double boiler, or setting a larger pan/pot over a smaller one. You don't want the vessel that's holding the chocolate to touch the water, and the water should be set to simmer. Stir the chocolate occasionally just until most of it is melted. Remove from the heat and add the butter, the remaining heat will melt them both. Then stir well to mix it smooth.
Or
You can also melt the chocolate in the microwave on high for 30 seconds in a micro-safe bowl, take it out and look at it. If it's very melty around the edges of the bowl, stir it. Place it back into the microwave for another 30 seconds, take it out and look at it. Stir and if it's more than half way melted, just stir it, add the butter, and set it aside, as the remaining heat will finish melting it without scorching it.
(Chocolate that's scorched/burned must be thrown out as you can not mask the flavor, and the texture is ruined as well.)
Let the chocolate cool down a bit-about 5 minutes.
 |
| Finely chopped chocolate. |
2. Separate 4 eggs, putting the whites into your mixer bowl, and the eggs into a large bowl. Put the 2 whole eggs into the egg yolk bowl. Stir in 1/3 of the sugar listed into the egg yolk bowl along with your flavoring. Add about 1/2 cup of the slightly cooled chocolate to the egg yolk mixture and whisk quickly. This tempers the chocolate and egg yolk mixture so the eggs don't scramble from too much heat. Whisk the remaining chocolate into the yolk bowl, and zest if adding any.
3. In your mixer bowl with egg whites only, beat on high until foamy, then add the remaining sugar. The whites should be firm-holding their shape, and still glossy. I you over-beat the whites, you can add another white only and beat again-watching carefully.
4. Add a large dollop of whites to the chocolate mixture and fold in gently. Then fold in the remaining whites. Streaks and small lumps of whites are fine, don't over mix to make them disappear. Pour the souffle mixture into the prepared pan. Do not rap the pan on the counter to get rid of air bubbles! You need those!
5. Bake for 20-25 minutes at 350˚F, until they are cracked in the middle some and risen over the top of the pan/ramekins.
While the cakes are cooking, prepare the whipped cream. Beat it on high watching carefully so you don't make butter instead! Add the flavoring and 2 Tablespoons of sugar. Keep it cold in the refrigerator until ready to serve.


The centers of both sizes will be slightly jiggly when they are done.

The middle will fall as is intended as the cakes cool.
6. To serve:
The larger cake will need to cool down about 20-30 minutes on a wire cooling rack. Keeping the spring closed, insert a plastic knife or narrow spatula along the inside between the cake and the pan. Gently go all the way round to loosen the cake. Very carefully open the spring, keeping the plastic knife ready in case there are any places still adhering. Then remove the spring ring and place your cake-leaving it on the base plate, onto a serving dish or pedestal.
The ramekins don't need to cool much since you will be serving them in the ramekins.
Fill which ever size you've decided to try with the whipped cream. Sprinkle with cocoa powder and eat! My favorite part of all.
Hint: these can be made up to 2 days ahead and served cold which is as good as eating it hot. The larger cake having been chilled will actually slice, just remember that this is fragile and quite dense, don't try to slice too thinly as it will be very wobbly. Dollop each serving with whipped cream and enjoy.


So satisfying!
No comments:
Post a Comment