My Favorite Multi-Grain Sandwich Bread
 |
| GF New Year's Quiche |
I had started off by telling you that we had a lovely, lazy New Year's Eve. We were all asleep on the couch by 10 pm; although, I managed to rouse myself to watch Martha Bakes. And wouldn't you know it, the entire segment was on CHOCOLATE! I had just given out my last holiday chocolate treats. I was reduced to eating a ramekin sized bowl of Callebaut Dark Chocolate Callets, (chips). I did add some roasted and salted peanuts and some dried cherries - a wonderful substitute concoction when you're craving something with those qualities mixed together; sweet, salty, tart, and CHOCOLATE. Yes, I suffered terribly all for the good of women-kind around the world. I proudly carried the torch, bite and all, (oh yes, it was molded from dark and white chocolate!).....okay, but just wait until it's your turn to carry it, let's see who takes a bite out of it then!
We were rather sloth-like for New Year's Day, so I got out 5-6 cookbooks to peruse for some little smakerel to make (it's a Winnie-the Pooh word for "a lovey bit of a snack"). And wouldn't you know it? I re-found a recipe I'd been wanting to try.
But I also remembered that I was out of sandwich bread, therefore first things first. This recipe is so easy to make and relatively quick as it only needs to rise about 45 minutes, and only once. It has a great texture, fragrance, and a really good-hearty flavor.
 |
| Yum! |
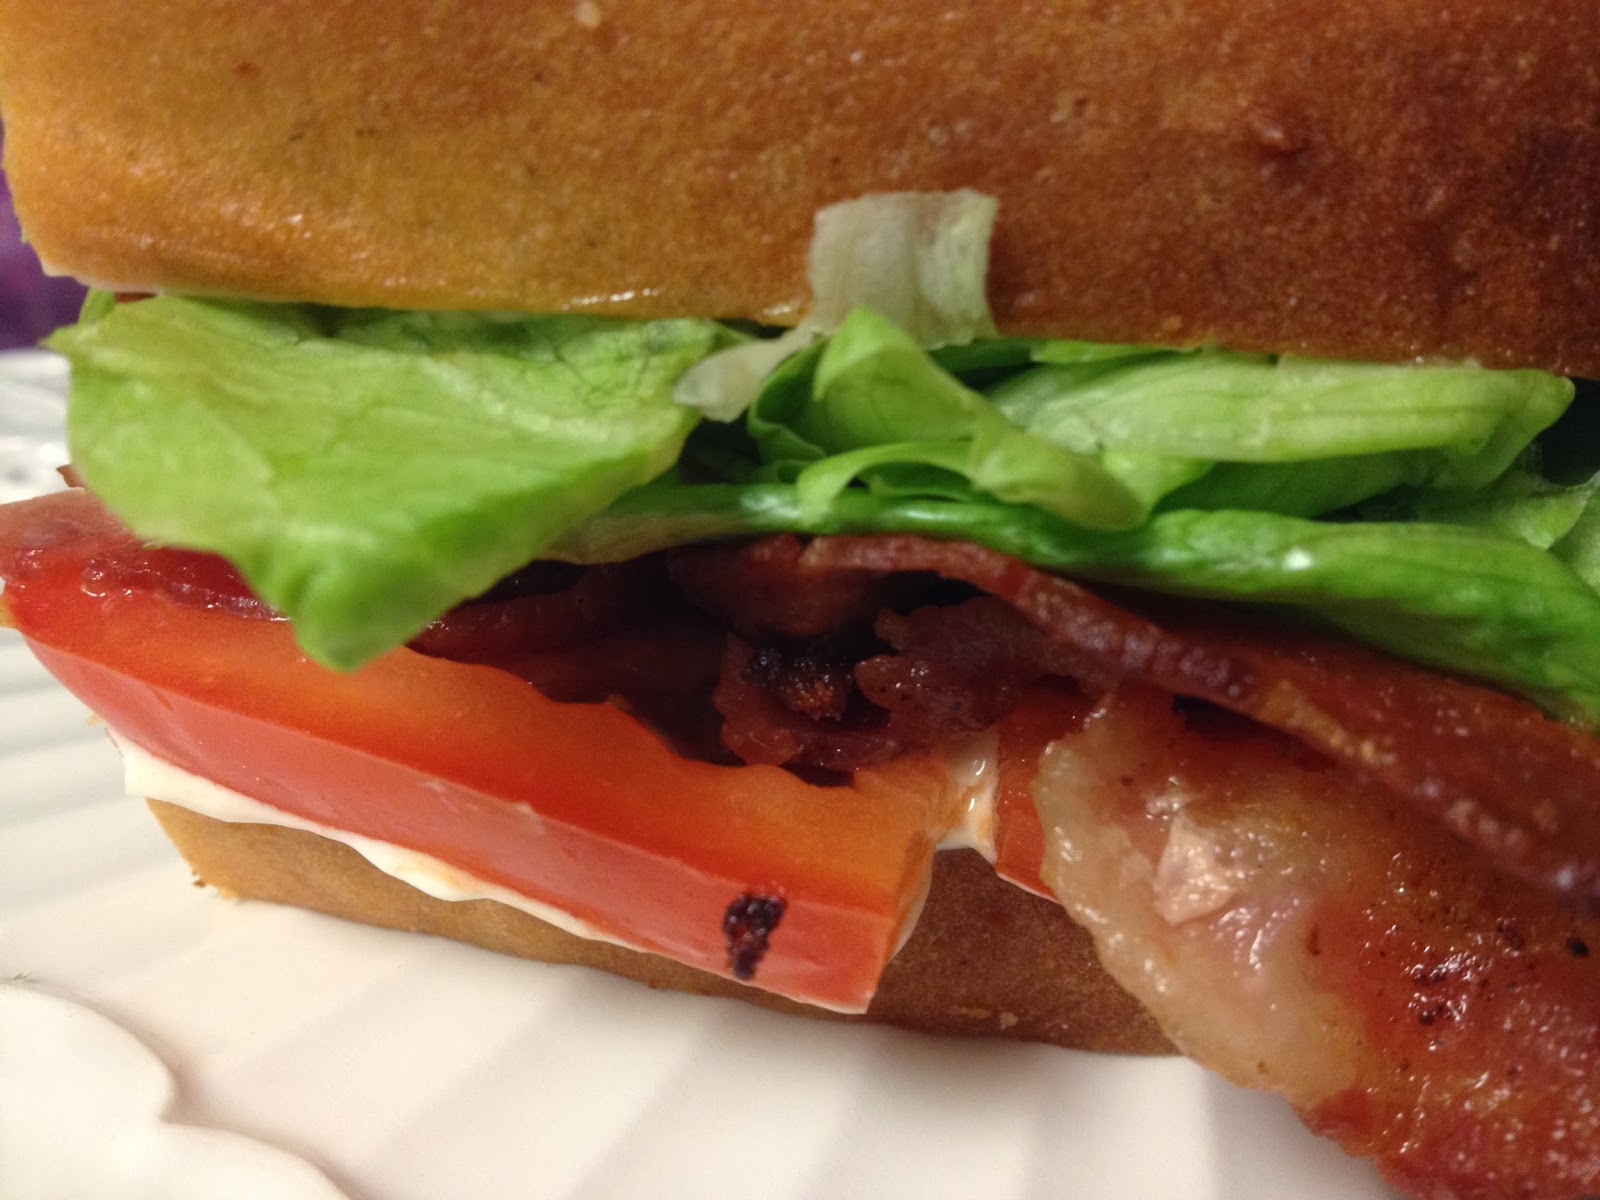
I've eaten it toasted with butter and honey, butter and apricot preserves, sandwiches of : natural chunky style peanut butter and blackberry preserves, hot egg and bacon, egg salad, chicken salad.....oh yeah - meatloaf sandwiches, it's wonderful! Tomorrow i'm making French toast and I bet it will be outstanding.
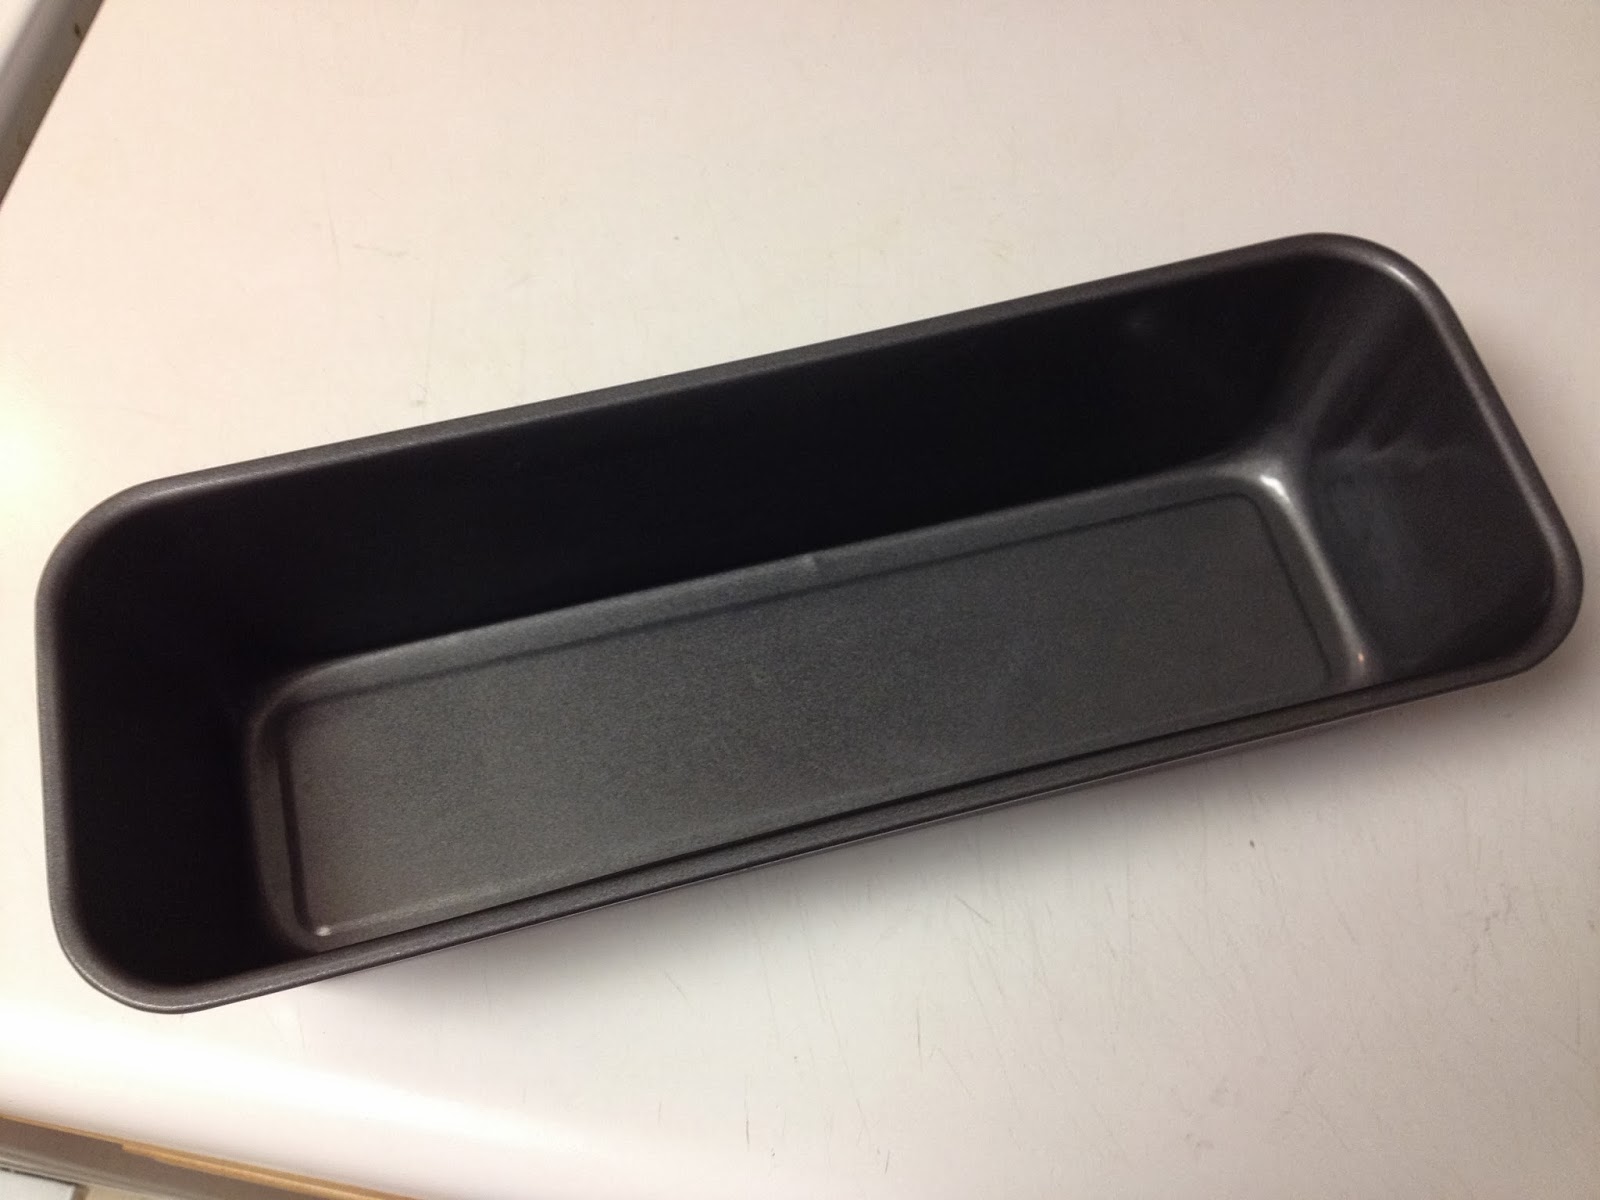
The pan shown below measures 4" x 12" x 2.75", and I used two of them for a single recipe (I googled the pan measurements and came up with lots of expensive ones, until I scrolled all the way down the page, then there are some nice affordable ones.) It makes for longer loaves with less width. It either means you have smaller sandwiches, or you can cut the loaf into thirds lengthwise and then slice it wider. Either way works great. Also using a smaller width gave my loaves a much higher lift, as you can see in some of the photos. A shorter and wider pan seems to give it too much room to spread and not as much height. My bread also rises and "cracks" along one side as you can see, just like a nut or fruit bread, which I think is very attractive.
So here you are:
Gluten Free Muli-Grain Sandwich Bread
Ingredients
Leavening:
2 teaspoons granulated sugar
2 packets/1/2 oz. Rapid Rise Yeast (yes you can use regular, but I like the results better with rapid rise)
2 packets/1/2 oz. Rapid Rise Yeast (yes you can use regular, but I like the results better with rapid rise)
1/4 cup warm water (about 110˚ F/43.33˚ C)
Dry:
1 cup quinoa flour
1 cup brown rice flour
1 cup sweet rice flour
1 cup tapioca flour
1 1/2 teaspoons salt
2 teaspoons xanthan gum
1/3 cup granulated sugar
1/2 cup dry milk powder
Wet:
1 1/2 cups warm water (about 110˚ F/43.33˚ C)
2 large eggs, room temperature
2 egg whites
1/2 cup butter, melted, plus more for brushing the tops of the loaves before baking
1 teaspoon cider vinegar
2 Tablespoons honey
Special Equipment Directions:
Spray the four insides of your loaf pan(s).
Cut parchment paper to fit with overhanging "handles" of 2 inches each side, (this is helpful for quick removal of the bread from the hot pans).

Proofing the yeast (leavening):
1/3 cup granulated sugar
1/2 cup dry milk powder
Wet:
1 1/2 cups warm water (about 110˚ F/43.33˚ C)
2 large eggs, room temperature
2 egg whites
1/2 cup butter, melted, plus more for brushing the tops of the loaves before baking
1 teaspoon cider vinegar
2 Tablespoons honey
Special Equipment Directions:
Spray the four insides of your loaf pan(s).
Cut parchment paper to fit with overhanging "handles" of 2 inches each side, (this is helpful for quick removal of the bread from the hot pans).
Proofing the yeast (leavening):
1. In a 2 cup container add the 2 packets of yeast, 1/4 cup warm water and 2 teaspoons of sugar. Stir briefly and set aside. It should become foamy and rise towards the top within about 10-12 minutes. If it doesn't, discard and use fresh packets, as your yeast is too old.
Dough Directions:
2. In the bowl of your mixer, add all of the dry ingredients, stir together and set aside.
3. In a medium bowl, whisk together the wet ingredients, and your proofed yeast mixture mixing well.
4. Using the paddle attachment for your mixer, turn mixer on to low speed, slowly adding the wet mixture to the dry mixture. Scrape down the side of the bowl with a rubber spatula and beat on medium speed for about 7-8 minutes. Scrape the bowl down again. Beat the mixture on medium-high for about 5 minutes. This helps the ingredients not only to mix very well, but aerates the dough, giving you a wonderful texture. It will resemble a quick bread only thicker. It does not resemble risen wheat dough.
5. Divide the dough between the two pans. Run your rubber spatula under water and lightly smooth the top of the dough. Rap the pan onto the counter firmly but gently to break any bubbles in the batter. There will still be some, but you are trying to burst the bigger ones. Cover pan loosely with saran wrap, then with a clean kitchen towel.
6. Pre-heat your oven to 400˚F. I like to set my yeast goods on the top of the stove towards the back where it's very warm. Set your timer for 20-25 minutes (you'll want 40-45 minutes total rising time), so you can turn the pan around for the other side to have equal time with the heat. You may think at the end of the the rising time that it didn't rise very much. Trust me, it can rise quite a good deal when actually in the oven. You can also put an oven proof pan or pot with water, in the oven to provide the dough with some humidity.

7. ***When you are ready to bake, brush the top of the dough lightly with melted butter or olive oil. Bake at 400˚F for 10 minutes, then tent the pan loosely with foil and continue baking for another 30 minutes.
*** If you are not sure if your loaf is done, insert an instant read thermometer about an inch into the center of the bread, it should read about 195˚F. That-means your bread is done.
8. COOLING - Remove the loaves from the oven and grasp the lengthwise parchment handles, lifting up and place the loaves on cooling racks/wires. Do not leave them in the pans to cool as it will continue to cook from residual heat.
9. STORAGE - Always store at room temperature. Refrigeration makes it harden and dry. I keep my loaves in a zip lock bag in a cool area in my kitchen.
AN EATING HINT: I've noticed (for me) that yeast goods eaten within a 1-3 hour time frame freshly after baking, leaves an "off" taste in my mouth. Nothing bad, but just strange. So in experimenting with when to try yeast goods after baking, I've decided to wait at least 6 hours before eating it. This seems to let whatever is tasting strongly a chance to rest. I barely notice it or not at all after this resting time. I definitely do not taste it the next day.
Hope you enjoy this!

No comments:
Post a Comment